Hi all,
I’m new to the site but did say Hi in the introduction thread. I’m Cammy and I’ve just purchased my first fruit machine – Mario Kart 64. I’ve never really played fruit machines but have always loved playing arcade and console games. The reason I bought this machine is because I’m a massive Nintendo fan and would love to get this working to go alongside all my other Nintendo stuff, if I ever get the gaming room finished.
Ended up driving close to 800 miles round trip to pick this up so in the end probably spent silly money buying a non-working machine, but I wanted this for it’s “Nintendo’ness” so had no other option really. I didn’t even know that there were Mario-related machines until just recently and when I found this non-working one for sale I did some reading on repairs and that is what brought me here.
Pictures below should tell the story. I reckon it may just need a new main board and all should be well but if you have other suggestions or any advice them I’m all for listening. Would be pretty awesome to do a full on restoration of this if does become fully working and would also like some Nintendo arcades to go along side it, but that is a long, long way off and I would need a bigger room!
I’ve got a bunch of tools and have done a fair bit of building/crafting/repairing/wiring work before but have absolutely no experience with fruit machines, but should be fine with the simpler replace items rather than the repair side of things, like trying to fix a PCB.
The person I bought it from told me that the person he bought it from (still with me here?!?) said that when powered up the alarm would come on and the machine would just buzz but then after he got it home and opened it up it turned out there wasn’t a PSU inside, so he bought a “new” one but the machine still wouldn’t work. That’s how it then ended up back up for sale and in my hands.
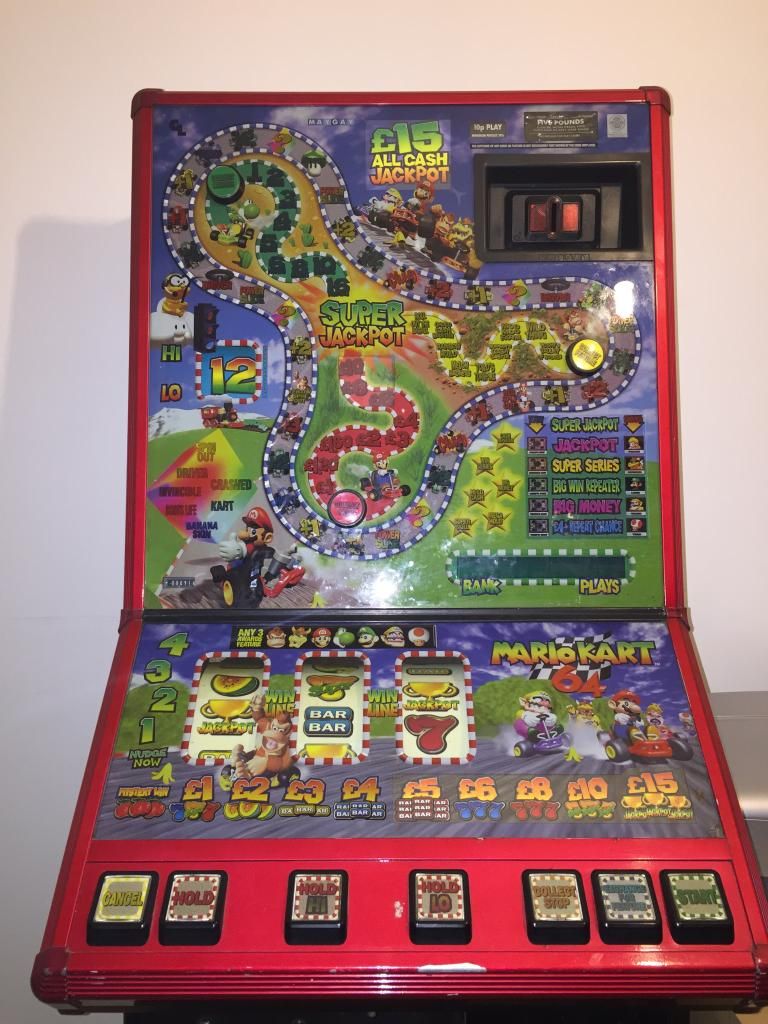
So, this is how it was once I got home. I reckon it’s in pretty decent nick:
Inside the bottom cabinet bit:
Close up of the PSU – clearly not a “new” one so I think the guy I got it from meant “new” as in “new to this machine, ie, second hand”. All LEDS light up when powered on. I’ve opened this up and had a look inside and it looks ok though does have a sticker that says “Sept 99”:
(pic removed as I've posted too many).
Close up of the meters in/out:
(pic removed as I've posted too many).
Main board in situ:
(pic removed as I've posted too many).
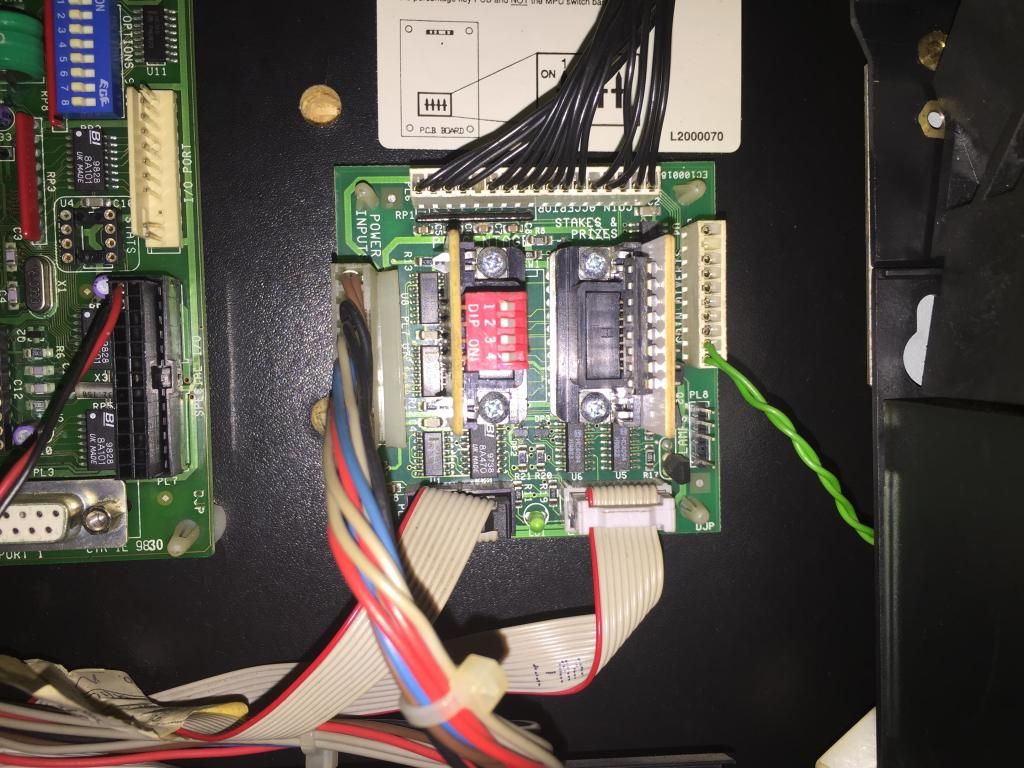
Stakes and Prize PCB in situ. There is a sticker that mentions a 9-pin percentage key, but this PCB has a red plug with 4 dip switches and a black plug with 8 dip switches. The red one is set to all off. The black one is set to 1, 4 & 5 on and 2, 3, 6, 7, & 8 to off. I can’t seem to find any “key” thing for this PCB but the sticker does show the various percentages linked to the four dipswitches on the red plug but there is no percentage for all switches being set to off, so why are they all to off? Or is to turn the red one off and allow percentages to be run through the black one?:
Lamps PCB in situ:
(pic removed as I've posted too many).
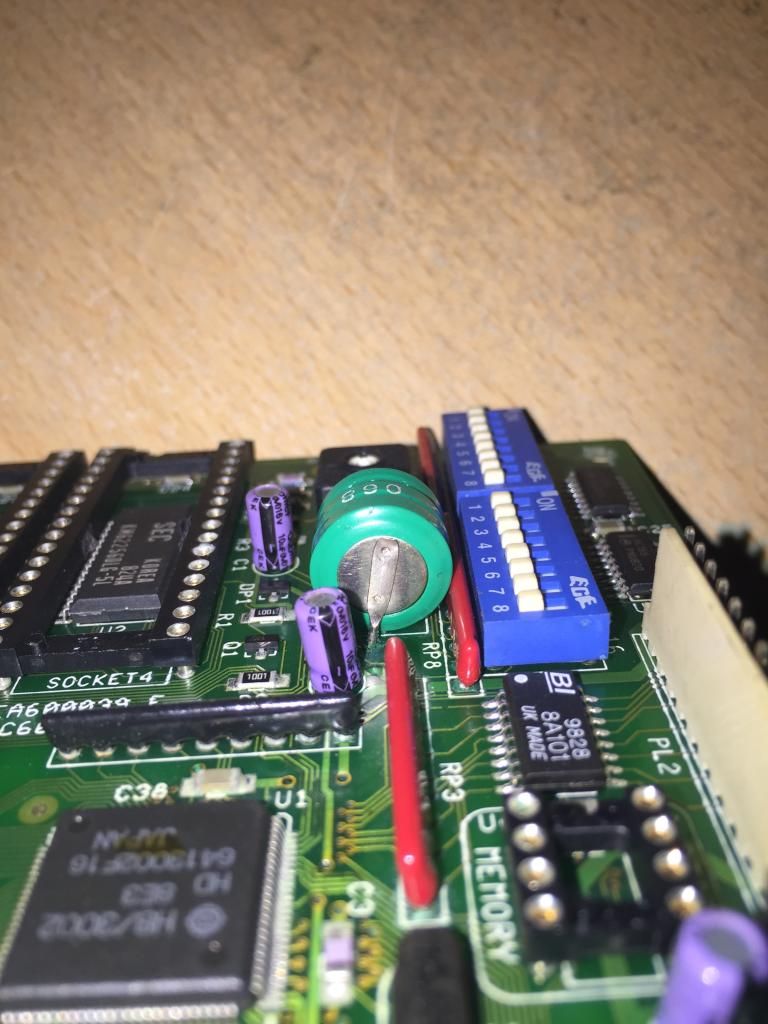
Onto the juicy part – the main board removed!!! Was checking for any signs of battery leakage and nothing was obvious. Here’s one side of the battery, looking nice and shiny:
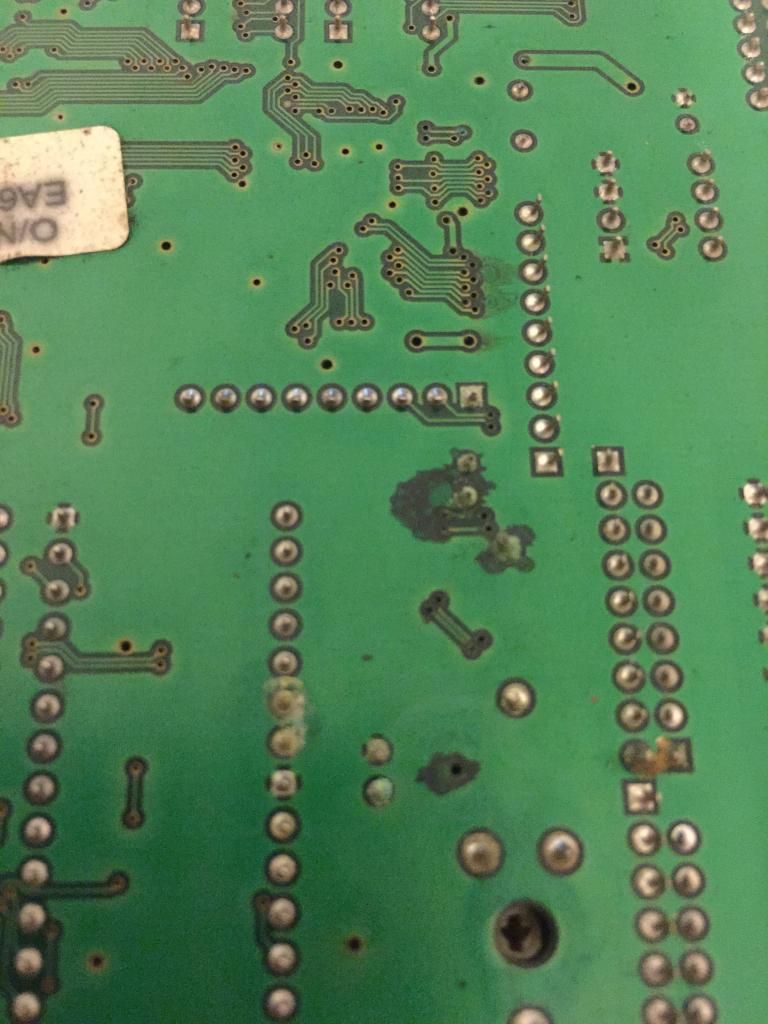
Though the other side of the PCB seems to tell a different story:
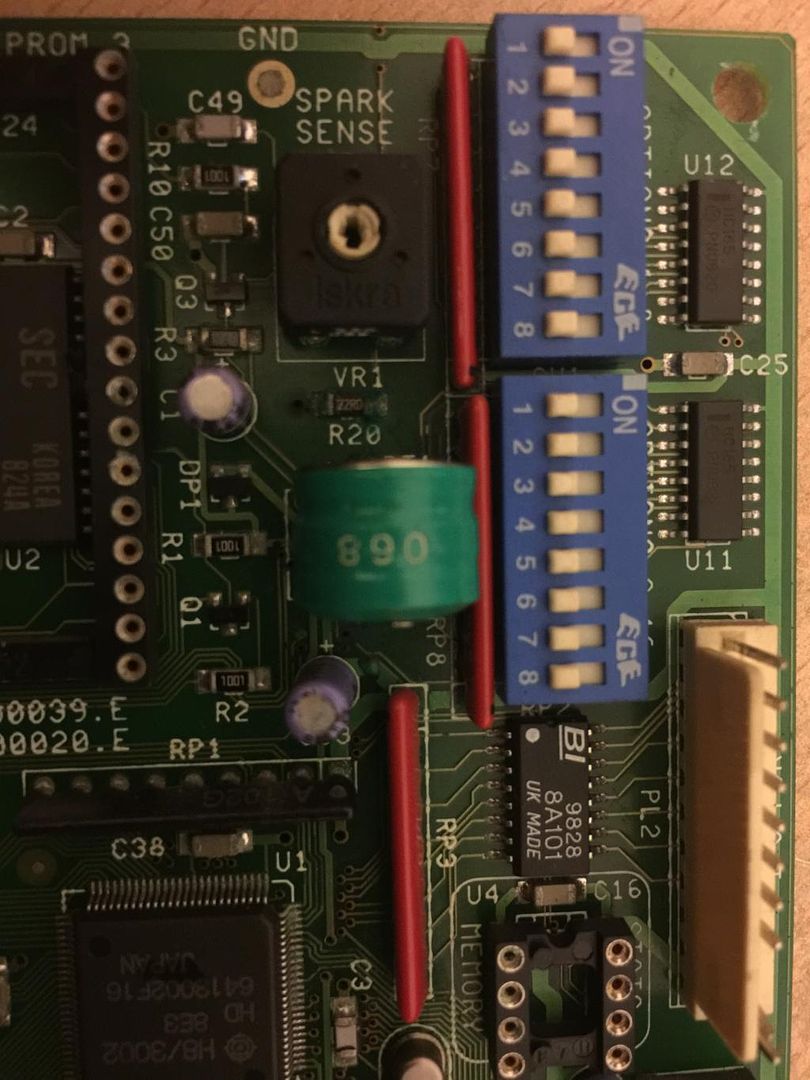
So this is the green fuzziness linked to battery leakage? Not as shiny as the other side of the battery:
Looked like a bit of fuzziness on R20, so tried to get a pic:
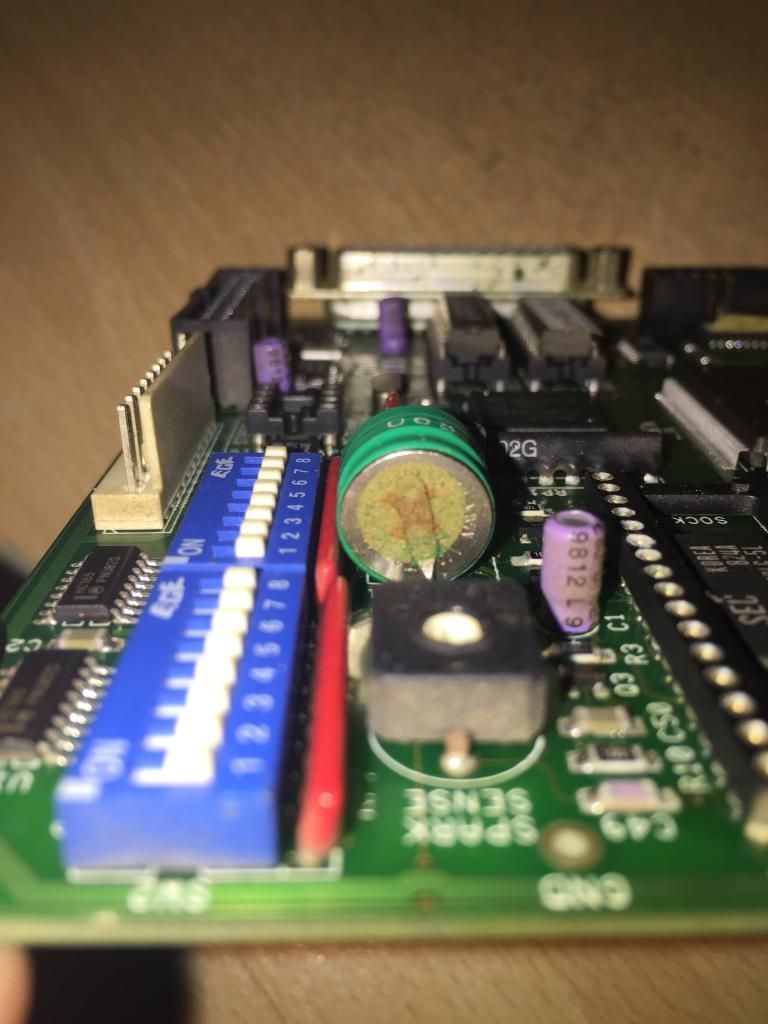
And from a different angle, note that the flash was off for this pic…also, what do these dip switches do and why are they all to off?:
But then took another pic with the flash on and check it out…shows up the battery leakage corrosion really well. Good starter for 10!:
So, based on the above, I’m going to buy a main board to replace my clearly battery leakaged one and hope that will sort it out and get it going. When powered up I’m getting nothing at all apart from all of the LEDs coming on on the PSU and the +12V and -12V on the main board. No lights anywhere else or any movement.
On a slightly different note, when the PSU is powered up it seems to make a bit more noise than I would have expected, though that’s probably because it’s pretty old and there weren’t any other noises at all to mask the PSU noise.
Got a main board sourced and about to pull the trigger for it unless there are any members here with any for sale? Would rather work with other forum users than buy from retailers looking for bigger profits.
Another thing, the cabinet door lock didn’t seem to work with any of the provided keys but luckily was in the open position, so got that lock switched with the one for the top cover part as the bottom door kept opening up on its own.
There’s a lock for a flat key on the section just above the cabinet door, but under the buttons, I guess this is the “refill key” lock? I never got a refill key so will need to re-wire this into a separate switch – but what is the function of this lock?
Thanks for any help you offer.
Cammy


 Find content
 Male
Male

